
This section was Inspired by Wayne Trivin
The purpose of the Fing2C project is for me to refine a process to make competitive F2C models accurately and repeatably from easy to source and (relatively cheap) materials.
I doubt if I’m going to set the world on fire but if I can be competitive in UK F2C then I’d be delighted. And I’ll glean some useful knowledge whilst having fun trying.
I wanted to master balsa moulding a the primary construction method. This gives me great flexibility to make changes simply and quickly. It also produces complex shapes repeatably.
Several months down the line I would say ‘mastered’ is an overstatement of where I’m at, but I am very happy with the results so far. The mouldings are accurate to my drawings and easily duplicated.
I’d gleaned some information on balsa sheet moulding from gnarly old free-flight fliers. I don’t like the extensive use of carved block, it’s so wasteful and time consuming.
But I was delighted to find practical usage information on the topic on Wayne Trivin’s excellent pages on NCLRA.
There are a lot of Wayne’s fascinating projects detailed that a quite honestly made me feel like a novice aero-modeller. The chap had so much knowledge and skill, and the pages give you inspiration and confidence to think, why not? A true reference for aspiring race model builders.
Wayne used 1/32 balsa sheet backed with doped-on tissue for his F2C build. I tried this initially but wanted to have the inside surfaces glasscloth and epoxy covered for durability. And I thought 1/16 sheet would be easier to handle and probably more durable. I could skinny everything down after testing.
Due to the entire fuselage surface of the Fing2C consisting of compound curves, there would be a total of eight (!) separate pieces to made for each fuselage. It sounds daunting but in reality is very simple and efficient.
Step 1 – crutch profile
The rules require a minimum fuselage width of 50mm and height of 100mm. Cunningly I’d also decided to build the model on a curved centre line, resulting in 3 degrees in-thrust on the motor and the fuselage tracking the curve of the flight path exactly. It’s got to be better, right? If the model flies like a dog I may come to regret this decision, but I’m confident it’ll be good.
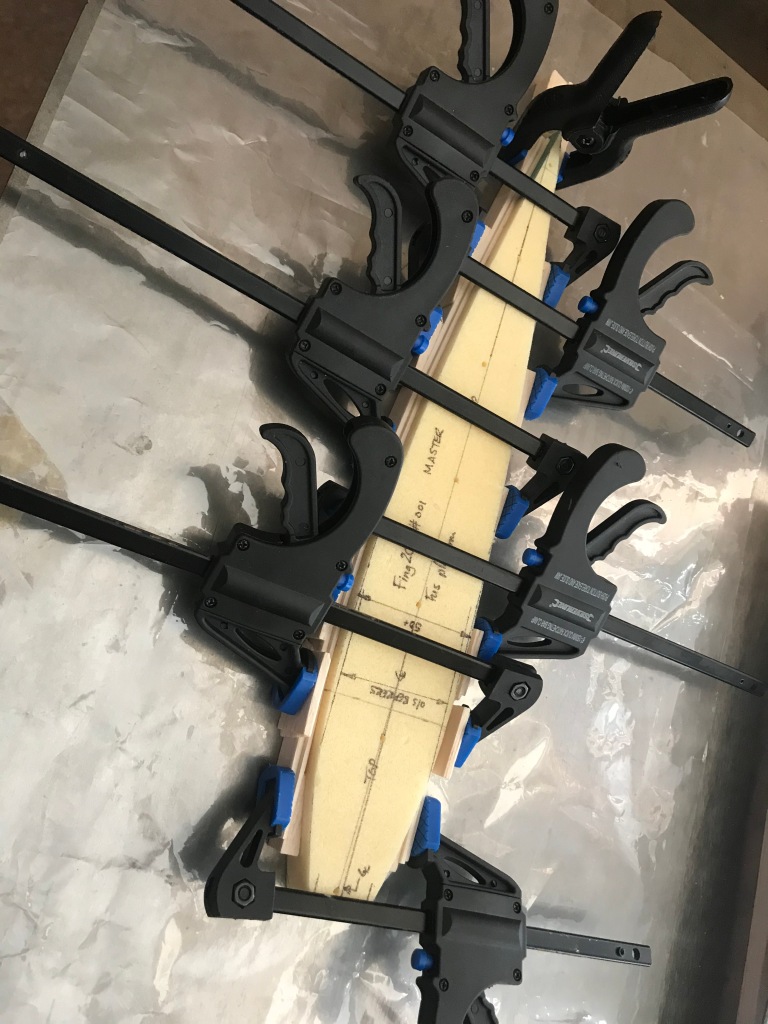
So the first simple task to chop up a 1″ deep closed cell foam block and laminate two pieces of 1/16th balsa per side. Using 1/16th laminations would allow an accurate shoulder for the top deck to fit on. This base block was made actual size for reference, the resulting sides were trimmed and joined to match the profile after they had set from laminating.
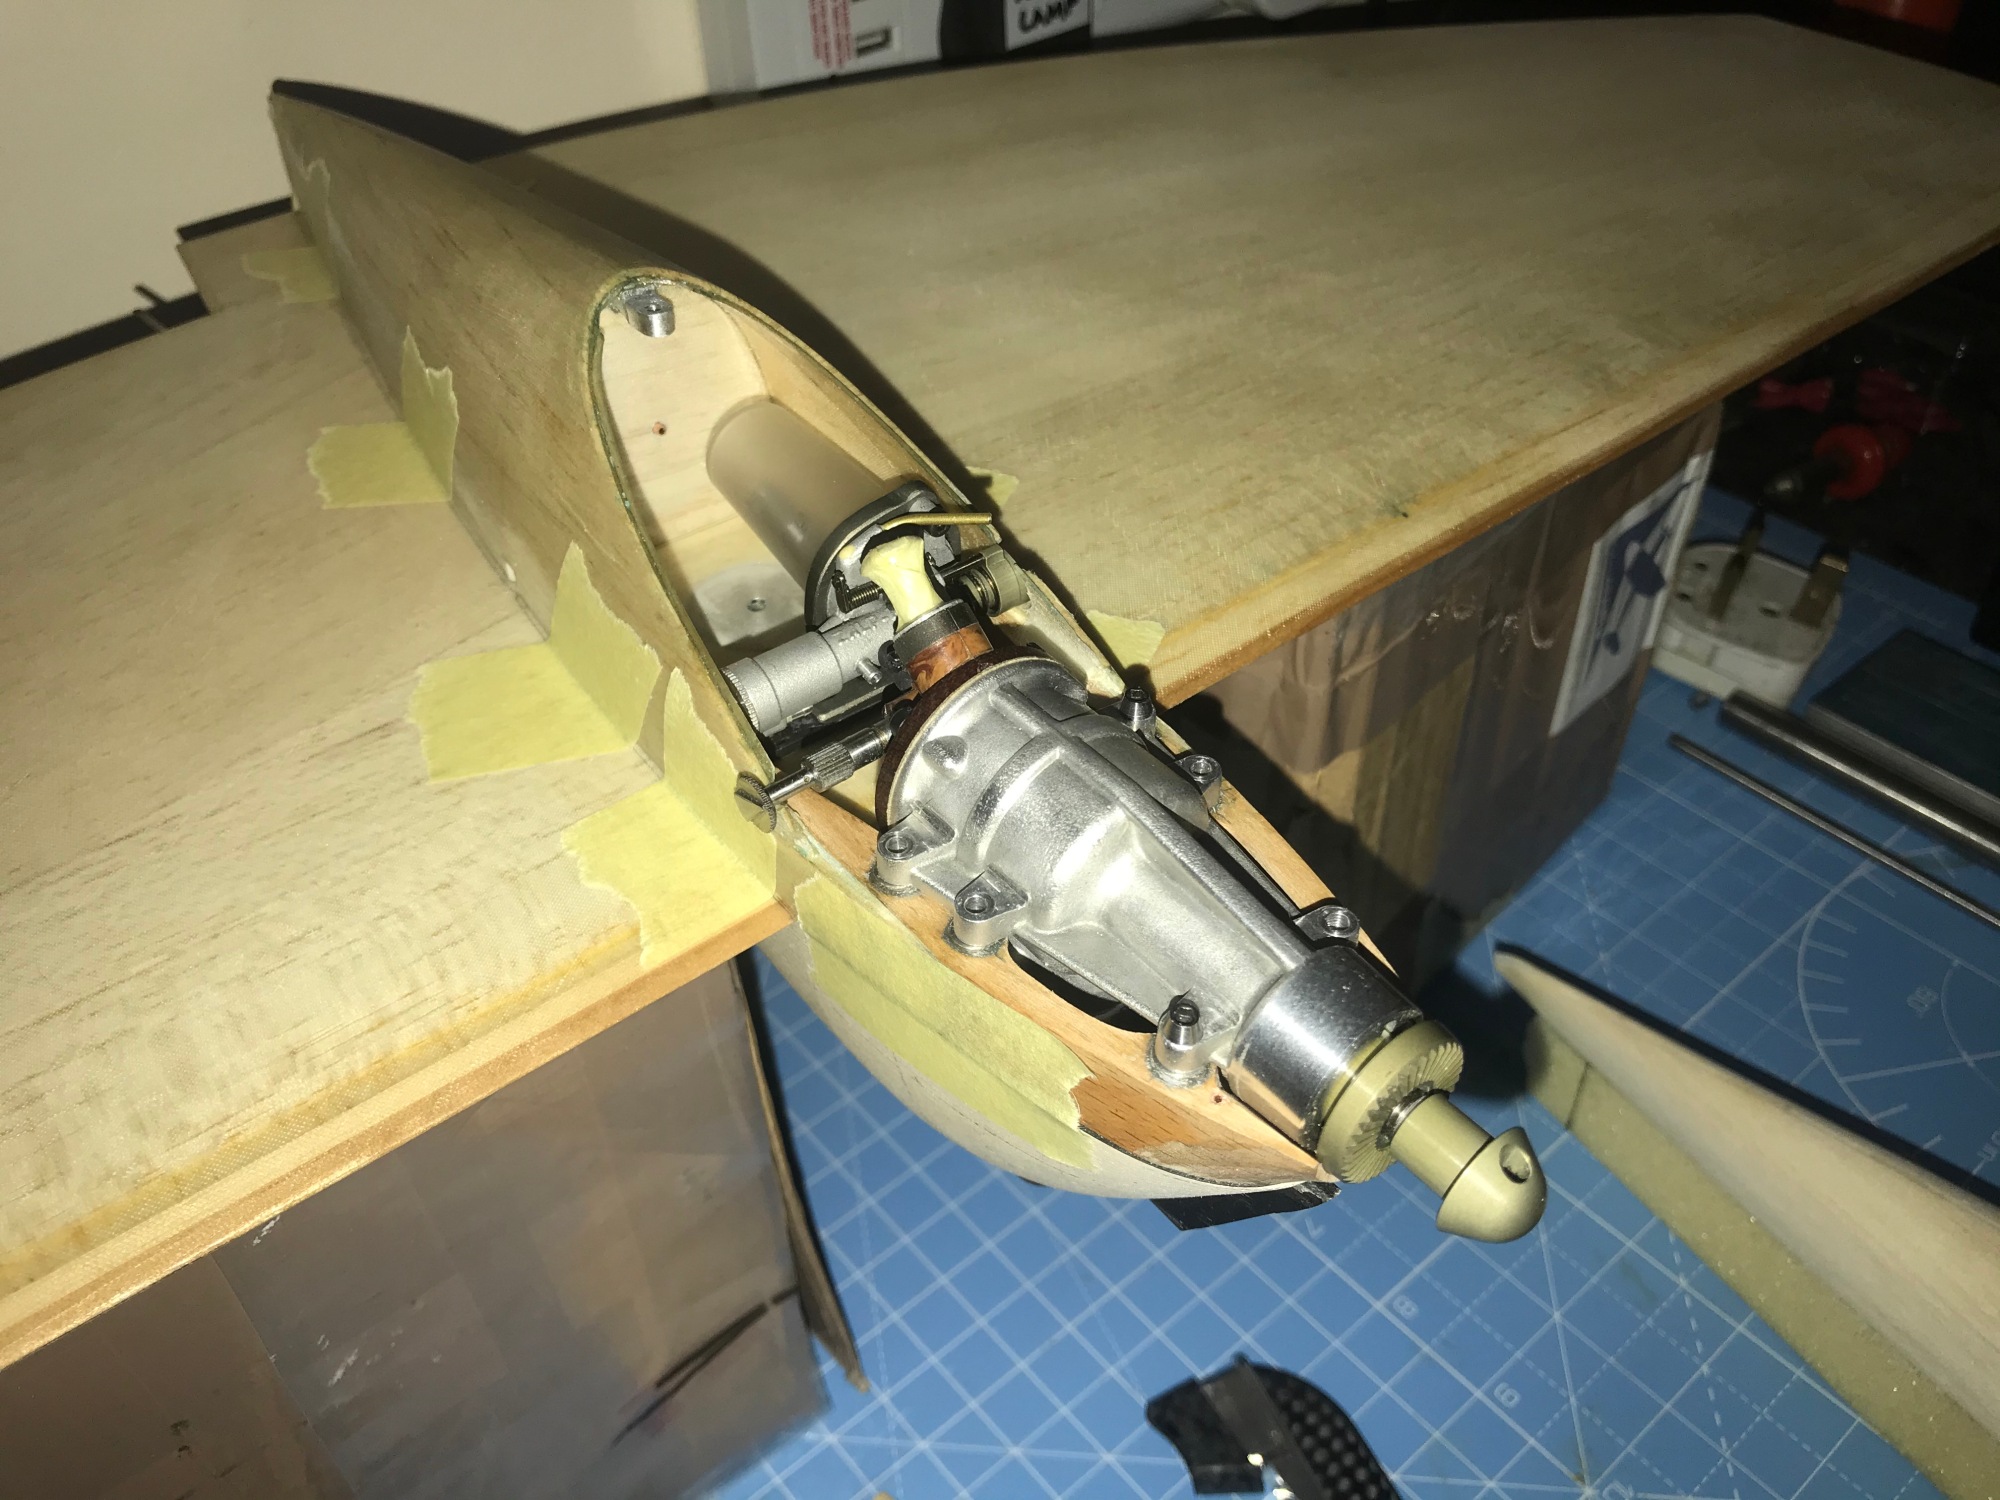
The crutch sides are handed as the outer curve is much more pronounced than the inner. The bearers are angled inboard to match the curved of the centre line.


From the photo above you can see the top deck plug sits 1/16th inside the base. Obviously to allow for wood thickness of the upper deck. This was repeated for the bottom half.
Step 2 – Top Deck
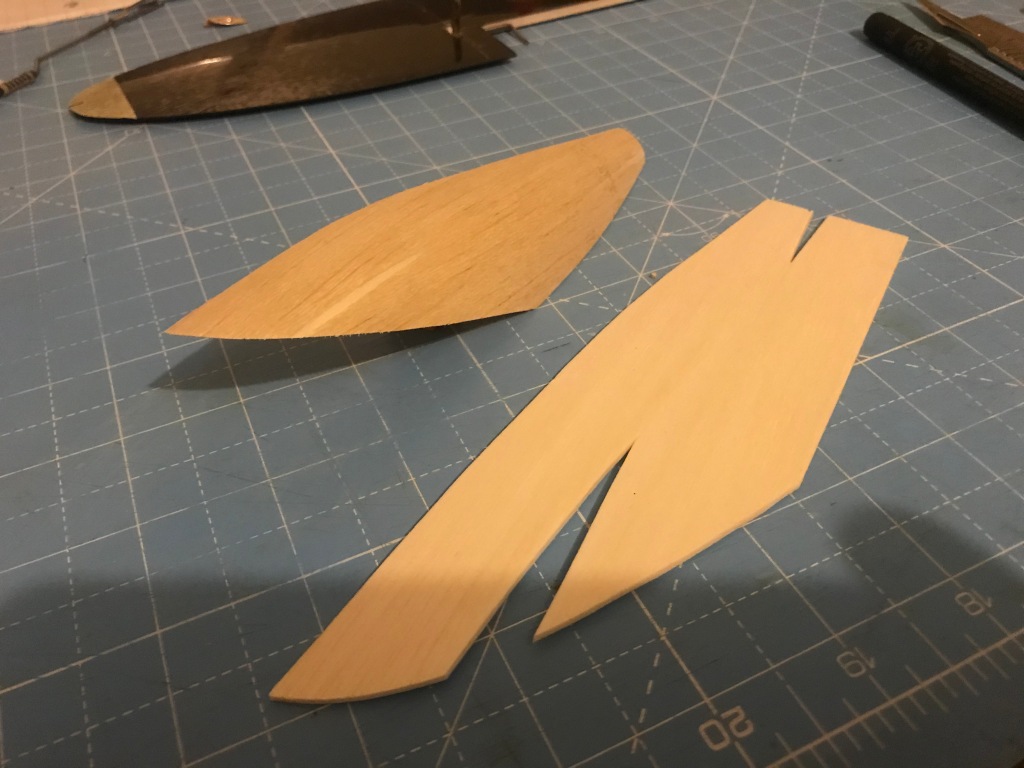
The top deck plug was whittled from the same foam. I wasn’t 100% sure of the required section, particularly where the tank filler sits, so I made up some 1/4 templates at known stations along its length. The carving literally took a few minutes with a razor plane and a few more with the 240 grit. I then established the curved centre line and split line by cyano-ing on some CL wire. No more than an hours work.


After a couple of attempts I found I was able to form 1/16 sheet in the tighter curves at the front of the fuselage, they needed pleats cut in but the end result produced something usable. The technique requires the balsa to be cut using templates, soaked in ammonia solution then bandaged onto the plug then left to dry. I have had rapid results in the summer with a shell being dried in around 2 hrs. It was obviously a very good summer!

Up to this stage it hadn’t taken as long as expected to produce two aircrafts’ worth of shells and crutch assemblies.
Things were likely to stretch out a bit now though, as one of Simon’s 5 min. thoughts turned into a living nightmare of fuddled brain power and cock ups.
Next time: the carbon fibre ducting, undercarriage and engine bay floor….. quite literally a dark art.
Wayne Trivin’s excellent F2C project can be found here:
https://www.nclra.org/TechTopics/WayneTrivin/F2CProject.html

You must be logged in to post a comment.