
Smith Wing Fing for F2CN
I’ve always admired Steve Smith’s design ethos, in particular his Wing Fing design. This model was the first flying wing for F2C and set the trend for small, light and stiff flying wing racers that are the only route to success at World level.
My thoughts turned to adapting the original Wing Fing for F2CN. I can’t claim any credit for the design as all of the important design elements are Steve’s own work. I wanted to bring together retro looks with modern ideas to hopefully make a racing plane that functions well.
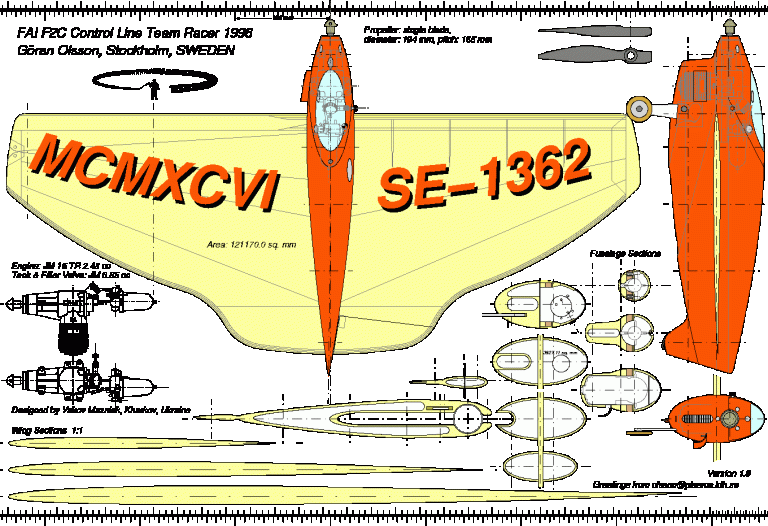
Here is a pdf of the original Smith wing fing drawn by Ian Russell.
Developments have refined the flying wing design and now many models share a very similar wing planform. Looking at Goran Olsson’s excellent site it was apparent there are some ‘new’ ideas common in the aerodynamic design of current F2C models. Goran’s own racer features upthrust and sidethrust on the motor, a touch of left rudder and a reflex wing section seen in the majority of current designs.
I decided to incorporate some of the features seen here into a profile model very close in outline to Steve Smith’s original. My first wing has a section that is split 2/3, 1/3 thickness at the root, with reflex built into the T.E. at a width roughly equal to Goran’s. My wing starts at 9mm thickness at the root tapering to 5mm at the tips, which are symmetrical.
In order to make the model legal for F2F the fuselage width should be kept to a maximum of 20mm (F2CN allows up to 26mm). That way if the weather is good in France I’ve got every excuse for a trip over…
Initially I made a few sketches to plan the general arrangement of the engine mounting, fuel system, controls and u/c position.


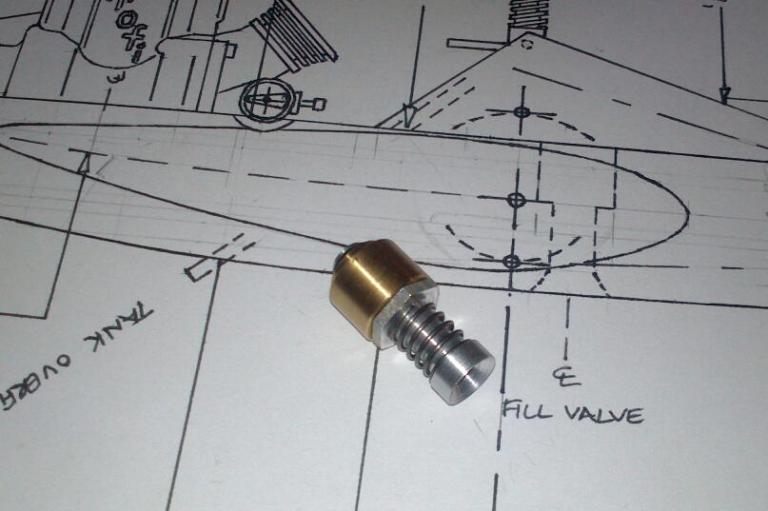
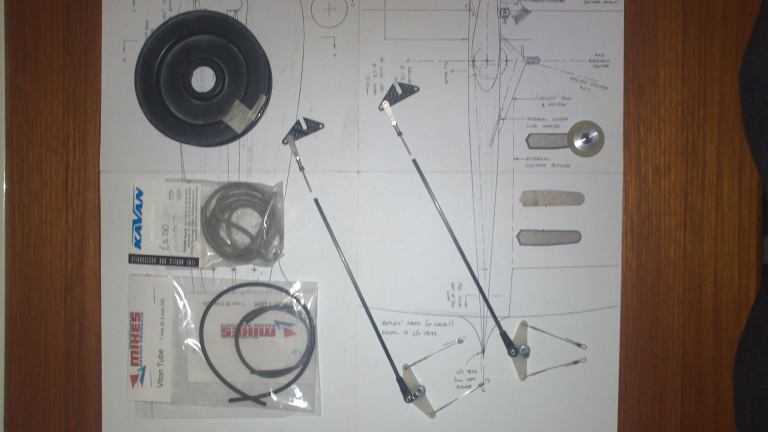
Mikes Racing Products supplies many items to help the aspiring F2C/N and Goodyear team. Ed Needham also supplies cut-offs, wheel and tank / filler valves. He is contactable through the Barton C/L forum.
Having settled on the hardware layout I soldered up a 15cc tin plate tank using a filler valve and cut-off from Ed.
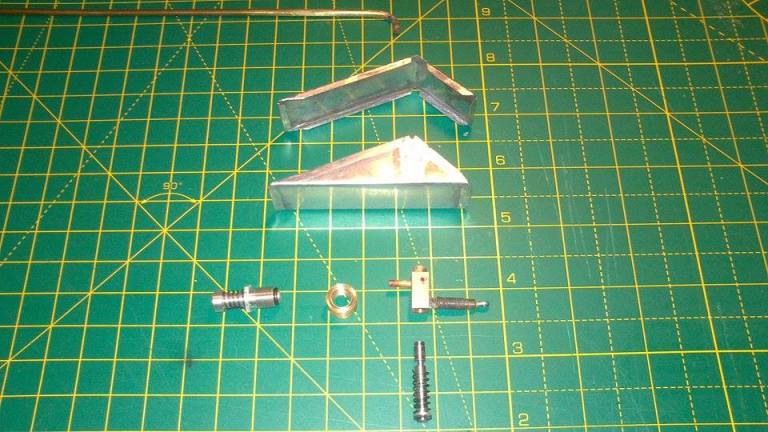
The hardware from Mike North included bellcrank and pushrod assemblies, a titanium U/C leg and wheel and some fuel tube and F2CN lines. Mike is a stalwart of modelling supply and he can supply anything from a lines to a complete model.
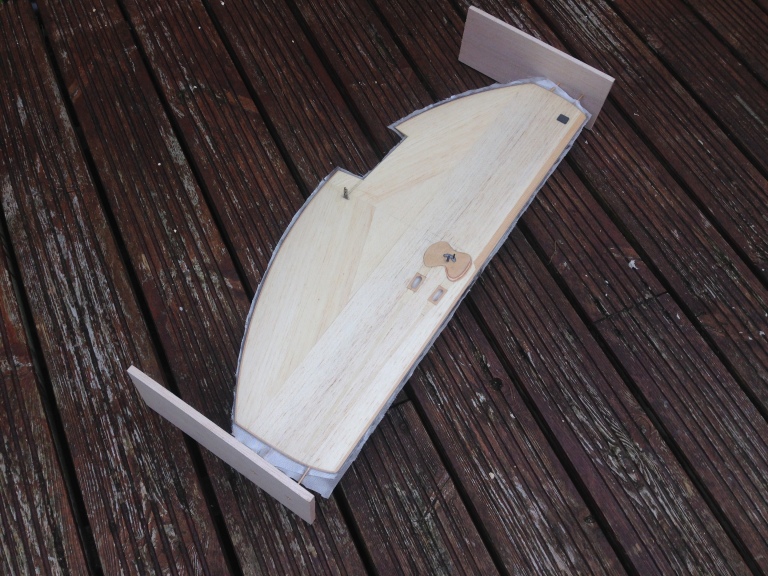
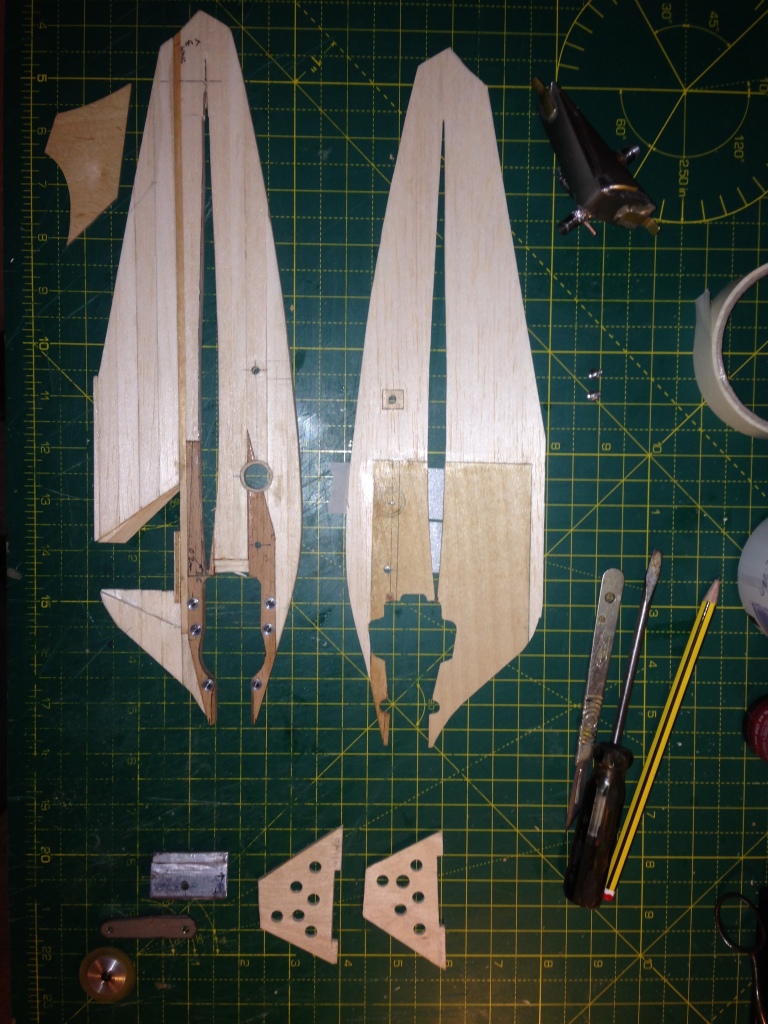
The wing blank was made up from 9mm / 3/8″ balsa sheets, planform shapes and the spruce edges added, and after a bit of planing and sanding it’s ready for controls to be installed.


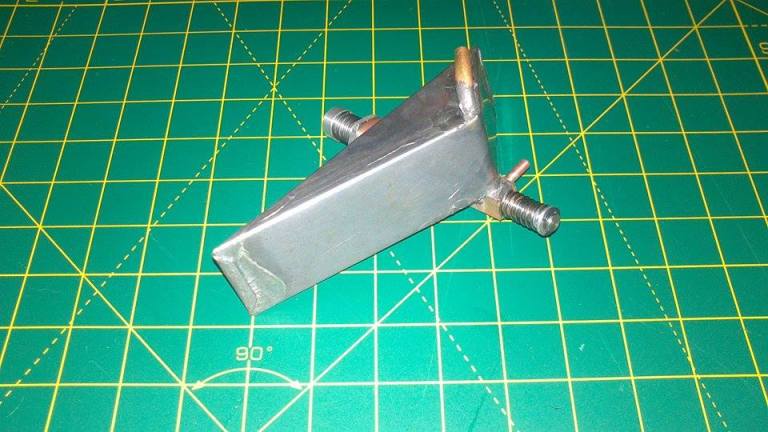
The bellcrank mount consists of two 1/16th ply plates, taking care to leave enough internal clearance to allow full rotation. I made up a simple wing holding jig to allow me to glass both sides at the same time to reduce chances of warping. It involves 4 cocktail sticks and some scrap balsa:
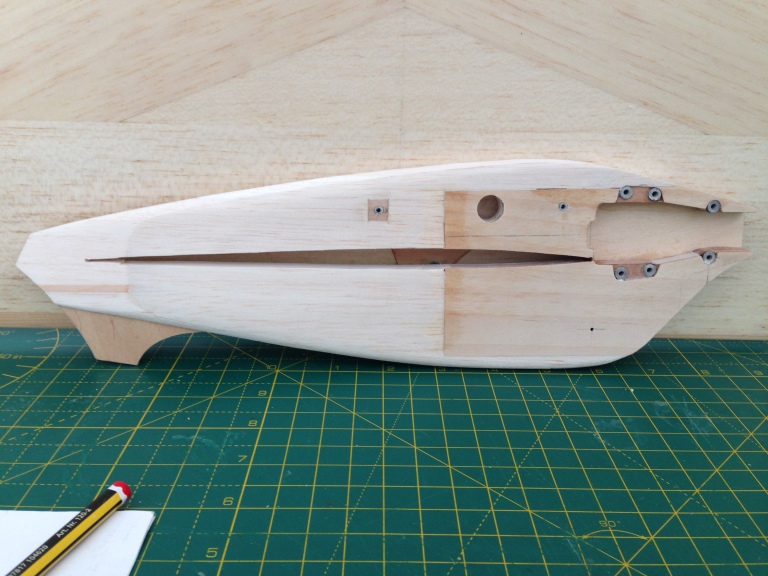
The fuselage blank was made from 3/8 square balsa glued in layers. The idea was was keep perfect alignment between motor and wing using the joint lines as reference.
The fuselage core was laminated with 1/16th outer skins of ply and balsa (RHS seen on photo above)
Below is the rough sanded fuselage:
Model assembled and hardware test fitted:
")
")

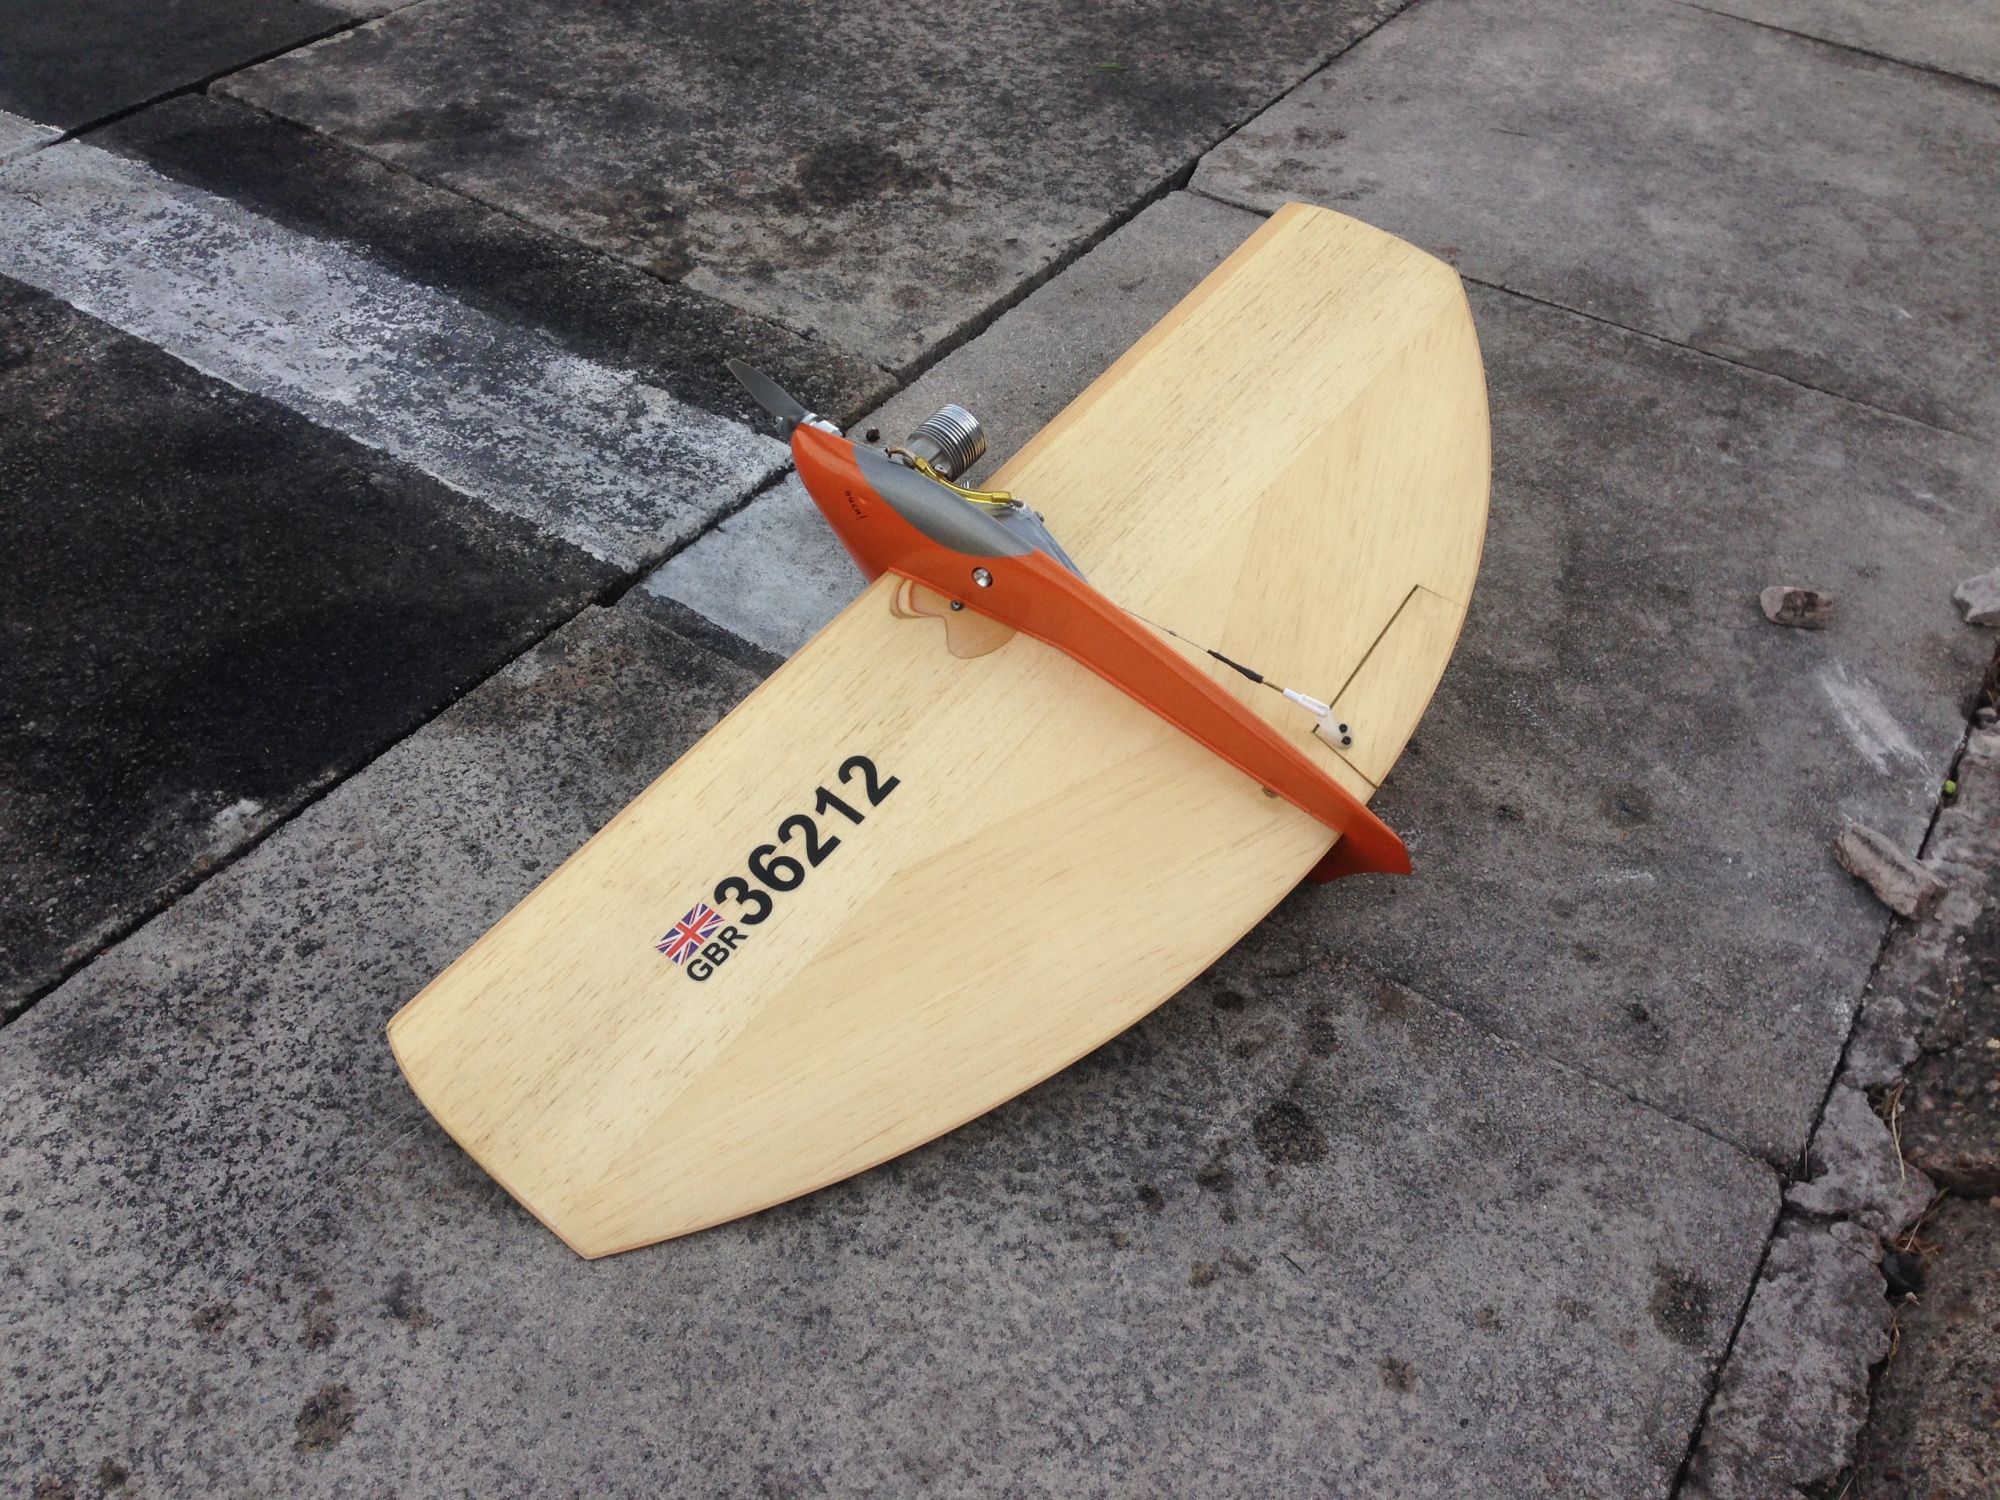
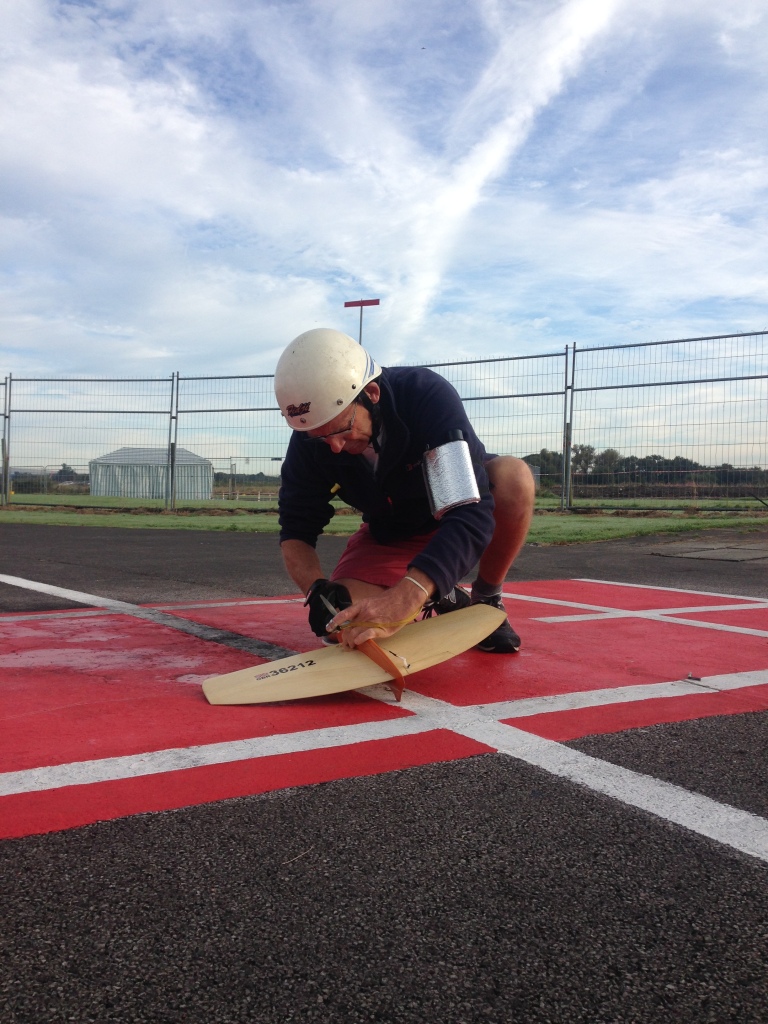
Model was then finished and taken for testing at a sunny Barton:
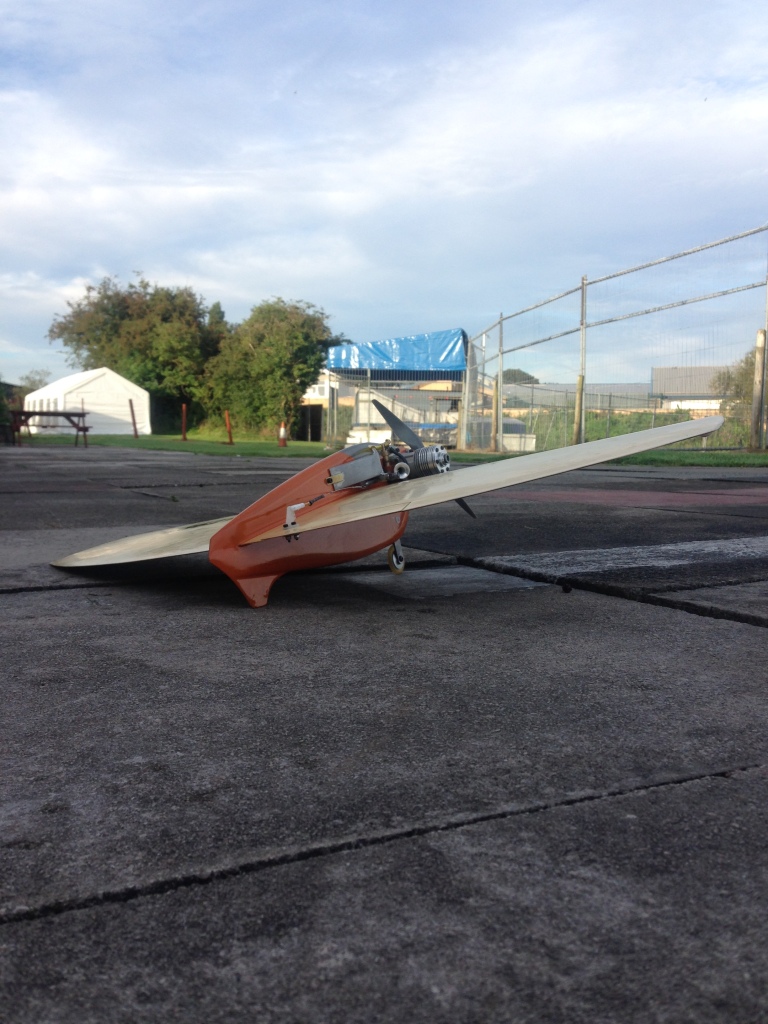
The end result was a best heat time of 3:55, just 5 secs off making the final, so reasonably satisfying. Most importantly the model handles extremely well, all flying characteristics point towards the basic design being suitable for development .

You must be logged in to post a comment.